Last updated on February 6th, 2023 at 04:16 pm
Learning how to make a fire burn hotter takes both knowledge and practice. Many survivalists love flexing their fire building skills whenever needed. A hotter fire can help keep you safe in the cold, burn up lawn debris faster, and keep large groups warmer. We’ve put all of our combined survival knowledge and years of trial and error to the test. And, we’ve put together these tips that will give you the knowledge you need, but it’s up to you to practice the skill.
All fires require heat, fuel, and oxygen. Building a hotter fire requires well-seasoned softwood, the right-sized logs in a conical shape, and lots of oxygen.
Why Would You Want a Hotter Campfire?
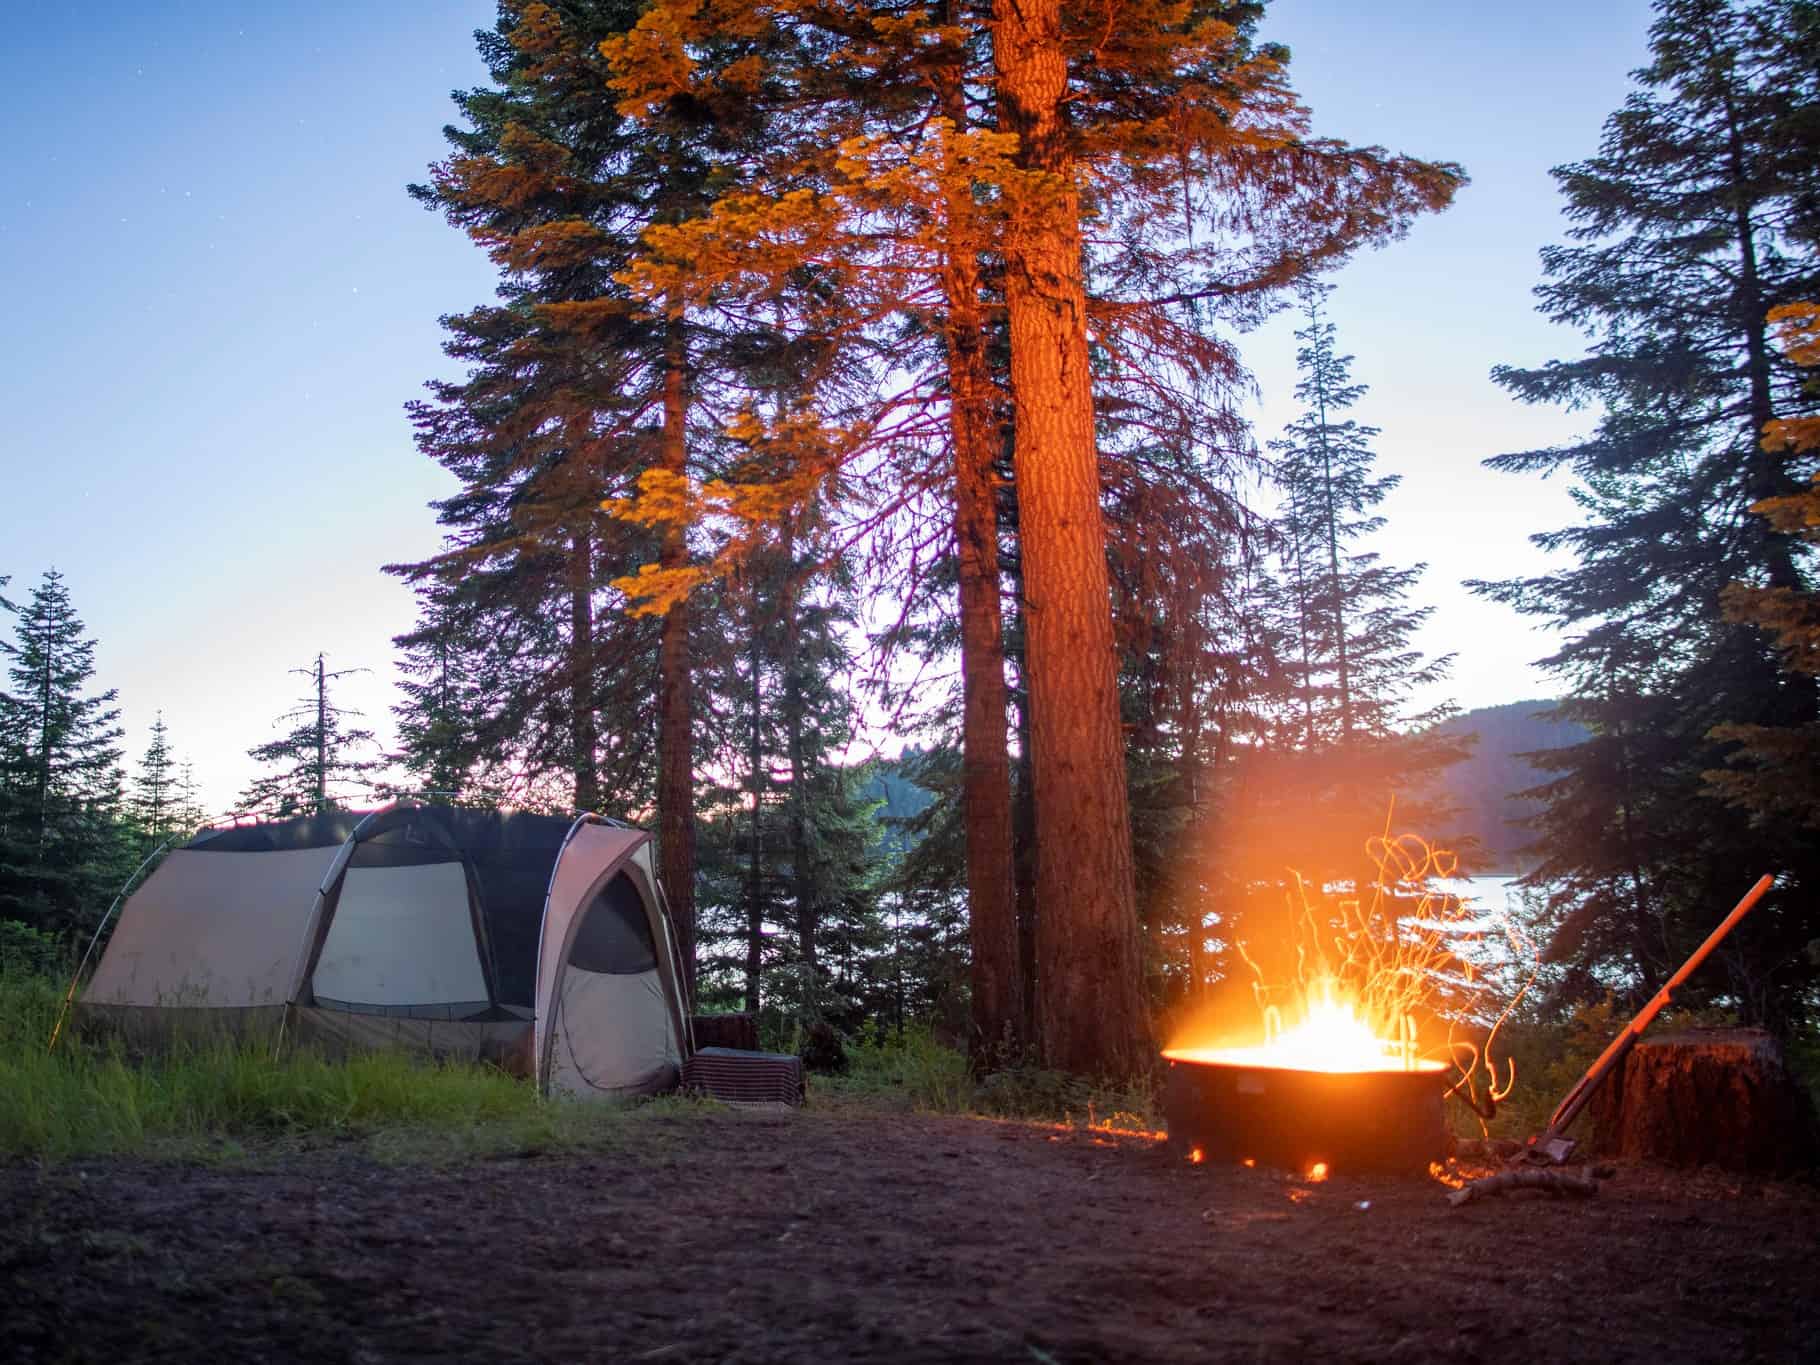
First and foremost, let’s delve into the reasons a person may wish to have a blazing hot fire. Campfires traditionally provide heat, light, and ambience when camping. However, there are some occasions in which a simple campfire is not enough.
However, building a hotter campfire won’t be something you need to do every time you camp. And, even though you can use a modified version of some of these tips to make any fire, you will likely not utilize all of these methods in a dense forest. But, should the situation arise, it’s at least important to have the know-how.
Importantly, the first situation that comes to mind is to stave off hypothermia.
In fact, accidents happen in the wilderness all the time. So, knowing how to get yourself warm quick is a necessary survival skill for any avid outdoorsman.
Perhaps you just enjoy camping in the winter and need the super intense heat to stay warm, cozy, and comfortable.
Sometimes, the need arises to dry clothes as quickly as possible.
Maybe you don’t have enough time to air dry, or maybe the environment is too damp to dry your clothes.
In these situations, routine camp fires simply don’t produce enough heat to dry your clothes in shorter periods of time.
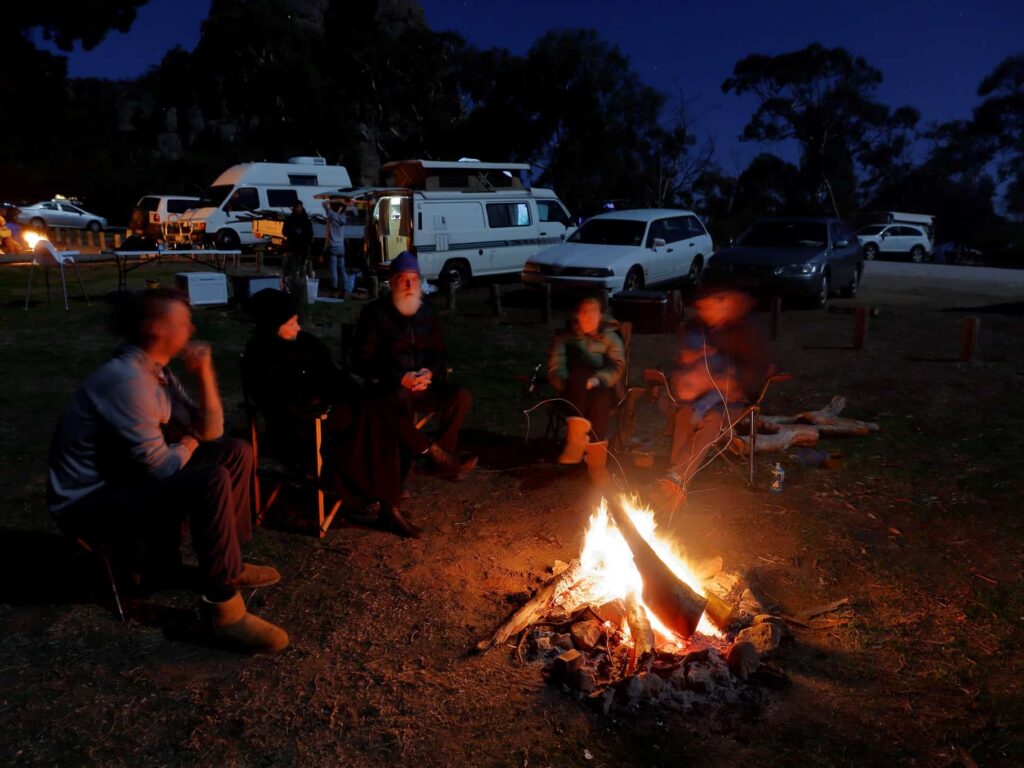
Another scenario might be if you’re in the deep wilderness. Hotter fires mean brighter light.
Keeping the fire blazing is a good way to fend off would-be animal attacks.
Most wildlife wouldn’t dare intrude into an area of intense heat and fire. In fact, the hotter the fire, the brighter the light, the larger the perimeter. It’s nature’s night light, and it keeps nocturnal creatures at bay.
1. Use Dry Fuel
Additionally, well-seasoned, fully dried wood is imperative to making a fire burn hotter.
Wood that hasn’t had time to fully cure contains an abundance of moisture. The more moisture a piece of wood holds the less heat you’ll get out of it. Plus, it’s harder to burn.
Furthermore, softer woods are easier to dry and take less time to do so. Quality firewood requires at least a year to dry.
When selecting logs for your fire, they should be void of any sap.
If sap is present, it means the wood still contains some moisture. You simply won’t be able to get the intensity you’re looking for.
When you’re car camping, you always have the option of taking your own firewood. However, If you’re trekking across the wilderness, this isn’t an option.
If your looking for firewood on the trail, look for wood that’s easy to snap.
If it has any bend or give to it, chances are it still contains too much moisture.
Another sign of dry wood is that it’s generally darker on the ends and often has cracks or splits.
Look for wood that appears much more weathered. Seasoned wood is also much lighter than you’d expect when holding it.
Once you know what you’re looking for, it’s pretty easy to spot.
2. Choose Softwood Species

Additionally, a basic understanding of firewood will help you choose the best pieces for your campfire. Generally speaking, wood is categorized as either soft or hard.
Hardwood is denser and will burn longer, but it won’t achieve the super high temperatures that we’re discussing here.
Softwood, on the other hand, is less dense and burns hotter and faster. In fact, toss a softwood log on your fire, and you’ll see blue flames in no time.
When trying to build a really intense fire, I like to use a combination of hard and softwoods. Because softwoods burn faster, I prefer to build the base of my fire with hardwood. This offers your fire structure more support over a longer period of time. Then I surround the base with softer woods in order to achieve that really intense heat.
The most common softwood options include:
- Buckey
- Cedar
- Fir
- Juniper
- Poplar
- Pine
- Redwood
- Spruce
If you aren’t really great at identifying trees, just look for the evergreens. They’re usually pretty easy to spot with their needle-like leaves. While there are exceptions, evergreens are almost always softwood trees.
However, be warned, a hotter fire built with softwood will consume wood very quickly and will need fed often.
3. Use Small-Medium Sized Logs
Furthermore, once you’ve laid out your tinder, kindling, and small of twigs in your workspace, you’re ready to construct your base with small to medium-sized logs.
Choose logs that are around the length of your forearm and approximately two-to-three inches in diameter.
The surface area of a piece of wood in proportion to its volume directly impacts its ability to light. In other words, let’s say you have two pieces of wood of the same size. If one remains whole while the other is split into pieces, the split wood will burn faster.

RELATED: Best Camping Chair
Larger logs are more difficult to light because they absorb a substantial amount of heat before they ignite.
Small to medium-sized logs provide a good starting surface area while also providing optimal airflow.
You can always add larger logs once your fire is good and strong. Just remember, the more oxygen you have flowing through your fire, the hotter it will be.
4. Build a Conical Shape
Finally, you’re ready to start building your fire. Conical fires are great for warming your environment quickly.
A good, strong fire requires plenty of oxygen to burn well. And, building in a conical fashion provides just that.
Conical camp fires leave plenty of room for oxygen to permeate and feed the fire from all directions.
I build my fires slightly different than most folks, but I’ve had great success doing it this way. Most people build their fires little by little, adding as they go.
On the contrary, I stage out my fire almost in its entirety before ever lighting a match.
Staging your fire first is a great way to block any wind or even rain while lighting your tinder. Plus, it’s easy enough to bellow your kindling to get the flame moving quickly. With all of your logs already in place, everything ignites rather easily without much delay.
How to Build a Conical Fire
1) Start by laying your tinder and kindling in the center of your designated firepit. If the ground is wet or frozen, place a layer of bark or small sticks as a base.
start with a tinder nest of dried grass, leaves, and pine needles or an abandoned birds nest. Then place a firestarter (detailed in tip #6) inside the nest and cover it with kindling.
Kindling can include:
- Cardboard
- Wadded up paper
- Sawdust or woodchips
- Dried leaves, grass, or pine needles
- Small sticks, twigs, or pinecones
- Commercial or homemade fire starter
2) Use small sticks and twigs to build a small cone shape over the kindling. Leave a hole on to access your tinder for lighting.
On top of that, build your base by leaning two to three medium-sized hardwood logs against each other.

3) Begin adding your small to medium-sized softwood logs around your cone’s base in a circular fashion. Place them vertically around the base giving them plenty of room to breathe.
Leave another opening to access the tinder and kindling once you’re ready to light the fire. This opening should align with the first hole.
4) Light your kindling and fan your flame until it’s good and lit. Use a bellows wherever you need to. Once you have a solid flame, everything surrounding it will gradually ignite.
Once your fire is good and hot, you can add larger logs as desired. Simply place them vertically around the fire continuing the conical shape
Additionally, you can gradually increase the surface area of your fire by building it outward as it grows stronger. Using longer logs will make it grow higher. This will make your fire burn more intensely over time.
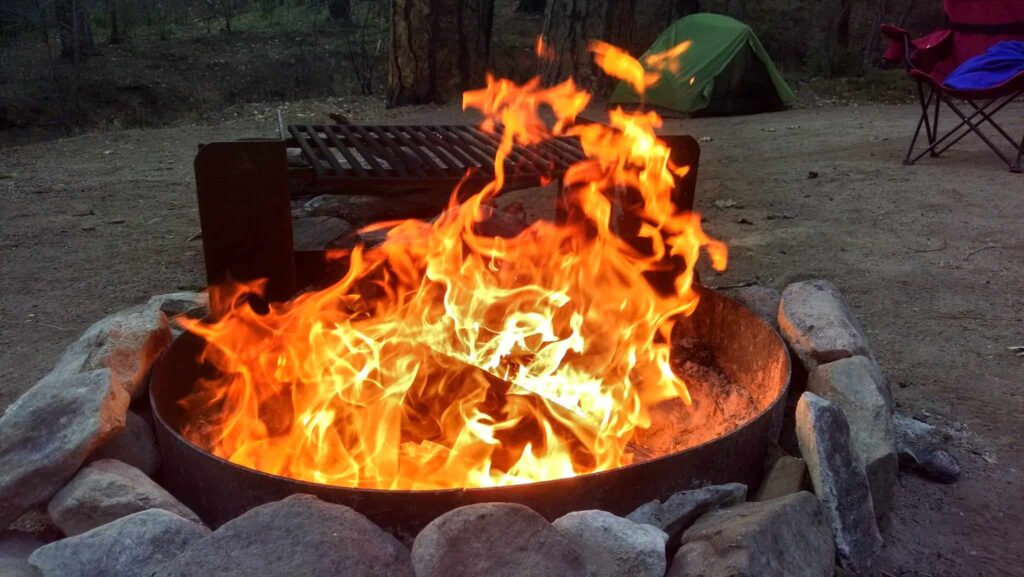
5. Make a Fire Ring of Stone or Metal
Fire rings are another way to intensify the heat of your fire. Building a ring of stone, brick, or metal around your fire can do wonders for absorbing and maintaining heat.
By its nature, heat is always transferring to whatever is less warm. The heat from your fire will transfer into the stone, bricks, or metal around your fire. As the fire ring absorbs the heat, eventually it too will begin to transfer heat outward.
If you prefer to traverse the wilderness, you can build your own with rocks.
Here’s what to do:
- Clear your area of any debris that could catch fire. Your ring should be at least 3-4 feet in diameter. Plus, a good six- to ten-foot perimeter around the ring should be cleared to keep your fire from jumping.
- If you have a shovel, you can dig down a bit if you want to, but it’s not necessary. Create a circle of rocks or stones large enough to house your fire. Place them as tight as you can, and then fill the space in between with sand or dirt. Wet sand or dirt works best if at all possible.
- Add another layer or two repeating the same process until you have achieved the height you desire. By building a pitted ring, you’ll be able to trap the heat, which facilitates a hotter fire.
- Once your ring is constructed, begin adding your kindling and tinder to build your fire.
Fire rings are an excellent way to maximize your heat and energy potential. They’re also very useful for drying wet clothes or cooking.
6. Use a Fire Starter
Additionally, If you’re having difficulty getting your fire started, you can always opt to use a fire starter. Whether store-bought or homemade, firestarters provide a fuel source that will stay lit for an extended period of time.
I always keep cotton balls soaked in petroleum jelly in my fire-starting kit, but just about anything will do. Dryer lint, twine or string coated in wax, and pine resin or tree sap are all popular choices among campers.
Commercial firestarters are also an option, and there are a variety of choices on the market. From small fire sticks and burn pouches to pyro putty, most guarantee a 5-10 minute flame to get your fire started.
I prefer the petroleum cotton balls because they’re cheap and can also be used for first aid if needed.
If you’re car camping, you could even opt to use a firestarter log like what you’d use at home. They can be useful when your environment is wet, and things just don’t want to burn. However, it’s a little on the heavy side for backpacking.
Because flame burns upwards, place your firestarter underneath your kindling in one or more places. You can also lay firestarter around the base of your kindling to help ignite your outer ring of logs.
Finally, you’ll likely need a headlamp to assist with the task. And we’ve found the best with the longest life in our 9 Headlamps with the Longest Battery Life post.
7. Stoke With More Oxygen
The more oxygen you have to fan your fire, the hotter and more aggressive it will burn. You can always tell when a fire needs oxygen when it smokes a lot. Fanning your kindling is usually necessary to get it up and running.
There are several tools you can use to help feed oxygen to your fire.
1) Hand fan– A simple hand fan is often sufficient enough to fan your embers into ignition. These are useful for fanning your flame, but you can’t isolate or pinpoint your airflow like you can with bellows.
2) Pocket bellows– These are handy fire-starting survival tools. Furthermore, they are small enough to fit in the palm of your hand and telescope out to around two feet. When used correctly, you can have a raging fire in under two minutes.
Pocket bellows are my favorite choice because they’re small and compact, lightweight, and work well. It’s very easy to precisely pinpoint where you want to focus your air.
3) Full-sized camping bellows– A flexible bag attached to two ping pong-sized handles that can be pumped to fan the flame. These are ideal for car camping, but probably too big and bulky for backpacking.
4) Hand crank fan blower– A hand crank fan attached to a blower tube. Instead of pumping as you would with bellows, simply crank the reel to turn the fan blades.
Hand cranks are not a bad option, but the tube is rather short, which could pose some difficulty.
Regardless of which one you choose, bellows are powerful tools that can set your fire ablaze in no time. The more oxygen you have, the hotter your fire will burn.
Conclusion
You never know when you may need a blazingly intense fire. From drying clothes to keeping the wildlife at bay to even saving your life, it’s an essential survival skill.
Now that you know how to make fires burn hotter, you can feel even more confident on your next camping experience. Give it a try! Even if you don’t need one, try blazing a fire on your next outdoor adventure. You know what they say, practice makes perfect.
Title Image Credit, How to Make a Fire Burn Hotter: Bureau of Land Management Oregon and Washington |(source) | Attribution 2.0 Generic (CC BY 2.0) — reduced file size and image
Image Credit, How to Make a Fire Burn Hotter: Sheila Sund |(source) | Attribution 2.0 Generic (CC BY 2.0) — reduced file size and image
Image Credit, How to Make a Fire Burn Hotter: National Agroforestry Center |(source) | Attribution 2.0 Generic (CC BY 2.0) — reduced file size and image
How to Make a Fire Burn Hotter, Image Credit, : Mary Witzig |(source) | Attribution 2.0 Generic (CC BY 2.0) — reduced file size and image
How to Make a Fire Burn Hotter, Image Credit, : Mark Doliner |(source) | Attribution-ShareAlike 2.0 Generic (CC BY-SA 2.0) — reduced file size and image
Image Credit, How to Make a Fire Burn Hotter: Ed Dunens |(source) | Attribution 2.0 Generic (CC BY 2.0) — reduced file size and image