How to Dry Hiking Boots in The Field

How to Dry Hiking Boots in The Field | Avoid Blisters on the Trail

Keeping your feet warm and dry while on the trail is crucial. After all, a comfortable and successful hike depends on it. We all know, however, that Mother Nature can make it hard to keep dry. This is why knowing how to dry hiking boots in the field is a must. Otherwise, wet boots can result in blisters, along with other, more serious issues like trench foot and frostbite.

Drying your boots in nature is a little more difficult than plugging in a boot dryer. Our favorite methods for drawing moisture from hiking footwear involve newspaper, microfiber towels, hot rocks and even grass and leaves. 

Prep and Clean

Typically, mud and dirt go hand-in-hand with wet boots. This is why you want to prep them before setting them out to dry. Focus on cleaning off any caked on dirt, mud, and grass to allow for better air circulation. After all, fresh air is your friend for drying.

To clean your boots properly:

  • Thoroughly wipe off caked-on mud.
  • If you have one, use a toothbrush or any small brush to brush away dirt.
  • Pay attention to mud and/or dirt lodged in small crevices, which can block air flow.

Also, another key to faster drying is to remove your insoles and laces so that moisture can escape. Think of this like hanging laundry. When you leave a bundle of wet clothes on the ground, they will take much longer to dry. And often harbor bacteria for a gross stink. Whereas individual pieces will take less time. 

Grasses and Leaves

While some aspects of nature may be against you when it comes to staying dry [ahem: rain], others are your friend! Specifically, crunchy, dry materials like dead grasses and leaves can be used to absorb excess water in your boots. 

First, gather some dead grasses and dry leaves as you walk. Then, stuff them into your boots, after removing your insoles, when you set up camp. When this material is soaked, swap it out for a fresh batch and repeat until the moisture is mopped up.

Additionally, you can also stuff dried grass into your boots when walking if it will be awhile before you make camp. This will help absorb some of the moisture until you can remove your boots. 

Hot Rocks in Socks

Warmth can also be a big help when it comes to drying the interior of your boots and socks. An excellent way to create dry heat is to use rocks. It sounds odd, but the dry, hot surface can evaporate water.

When using rocks to dry your boots: 

  • First, heat up rocks by your campfire (not too close – you don’t want them to get so hot that they burn your material)
  • Place the hot rocks in a pair of socks 
  • Stuff the rock socks into your shoes until they’re warm and dry

Important tip: avoid using wet rocks from a river or other water source. Trapped water inside these rocks can expand from excessive heat, causing them to potentially explode.

If using rocks damp from rain, warm them slowly by the fire. But, keep them slightly further from the flames, just in case.

The Proper Prop

Additionally, propping your boots properly is essential if you’re desperate and thinking of using a campfire to dry your shoes.

And, while your intuition may tell you to prop your wet boots and insoles by your campfire. This is not recommended for a very important reason. Namely, the materials that make up your boots can be damaged. Leather, glue, and other synthetic pieces can crack, melt, and/or harden if they receive too much heat. 

However, sometimes you must use your campfire for heating and drying because you’re in a bind. If so, be sure to prop up your boots and insoles near the fire’s more controlled edge. This edge is considered the “safe” edge.

To get an idea of a “safe” distance for drying, find a spot where you can just feel the warmth of the fire.

Then, prop your boot holes toward the mild heat. This allows the warm, dry air from the fire to enter your boots, flushing out excess moisture.

Newspaper

In addition, like the dried grasses and leaves trick mentioned earlier, you can also use newspaper to achieve a similar effect. The dryness of newspaper will act as an absorber of moisture, and can work overnight while you sleep.

To dry boots with newspaper:

  • Tear off a few pages and crumble them into loose balls (you don’t want tight balls, as these will absorb less water).
  • Tear the balls at the edges slightly to attract more moisture.
  • Place the balls in your boots (insoles removed) and leave them to soak in the water.
  • Swap out the wet newspaper balls for fresh ones until your boots are dry.

If your boots are severely waterlogged, you may have to swap out the newspaper several times before your boots dry. This is why it’s best to start right when you reach camp. Then, you can swap the paper several times before sleeping.

Now, while this may be the most popular trick, hauling newspaper in and packing it out is a bit annoying. Which is why we prefer the ‘hot rock’ or ‘microfiber’ tricks.

Microfiber Towels

Also, having a few microfiber towels on hand during your trek can be a lifesaver for waterlogged boots.

To quickly absorb moisture, stuff them in your boots after removing the insoles, and let them dry overnight. 

Then, check back in roughly an hour and put a dry one in before going to sleep. You may have to do this a few times, so bring extra towels.

You can also place your insoles between two microfiber towels and press/squeeze the water out before letting them air dry. This can speed up overall drying time.

What’s great, is that microfiber towels have so many uses on the trail, so you may already have them.

Hand and Pocket Warmers

Finally, if you want to achieve toasty warmth along with a dry boot, try using hand and pocket warmers. Hand warmers start to heat up when exposed to oxygen.

RELATED: Best Lightweight Hiking Binoculars

The key here is to first activate your hand or pocket warmers, then place them in your boots. 

You can then bring your boots and warmers inside your sleeping bag overnight to trap in more dry heat. This not only helps dry your boots, but also has the win-win effect of warming up the interior of your sleeping bag.

Avoid Direct Heat

As mentioned earlier, it’s extremely important to avoid direct heat from your campfire when drying your boots.

Most hiking boots are made of material that can be damaged by heat. Leather, glues, and synthetic waterproofing material can dry, crack, and even melt. Thus, you shouldn’t expose these to the intense heat of fire.

Instead, the sun is your best bet for a direct source of heat.

It will dry your boots quickly, since you’re getting heat plus air flow. However, if it’s evening and/or overcast, you’ll want to use the other techniques here, like newspaper.

Alternatively, you can prop your boots and insoles at the “safe zone,” of your fire. This safe zone is where you just begin to feel the warmth of the flame. Place your boots with their holes toward the fire.
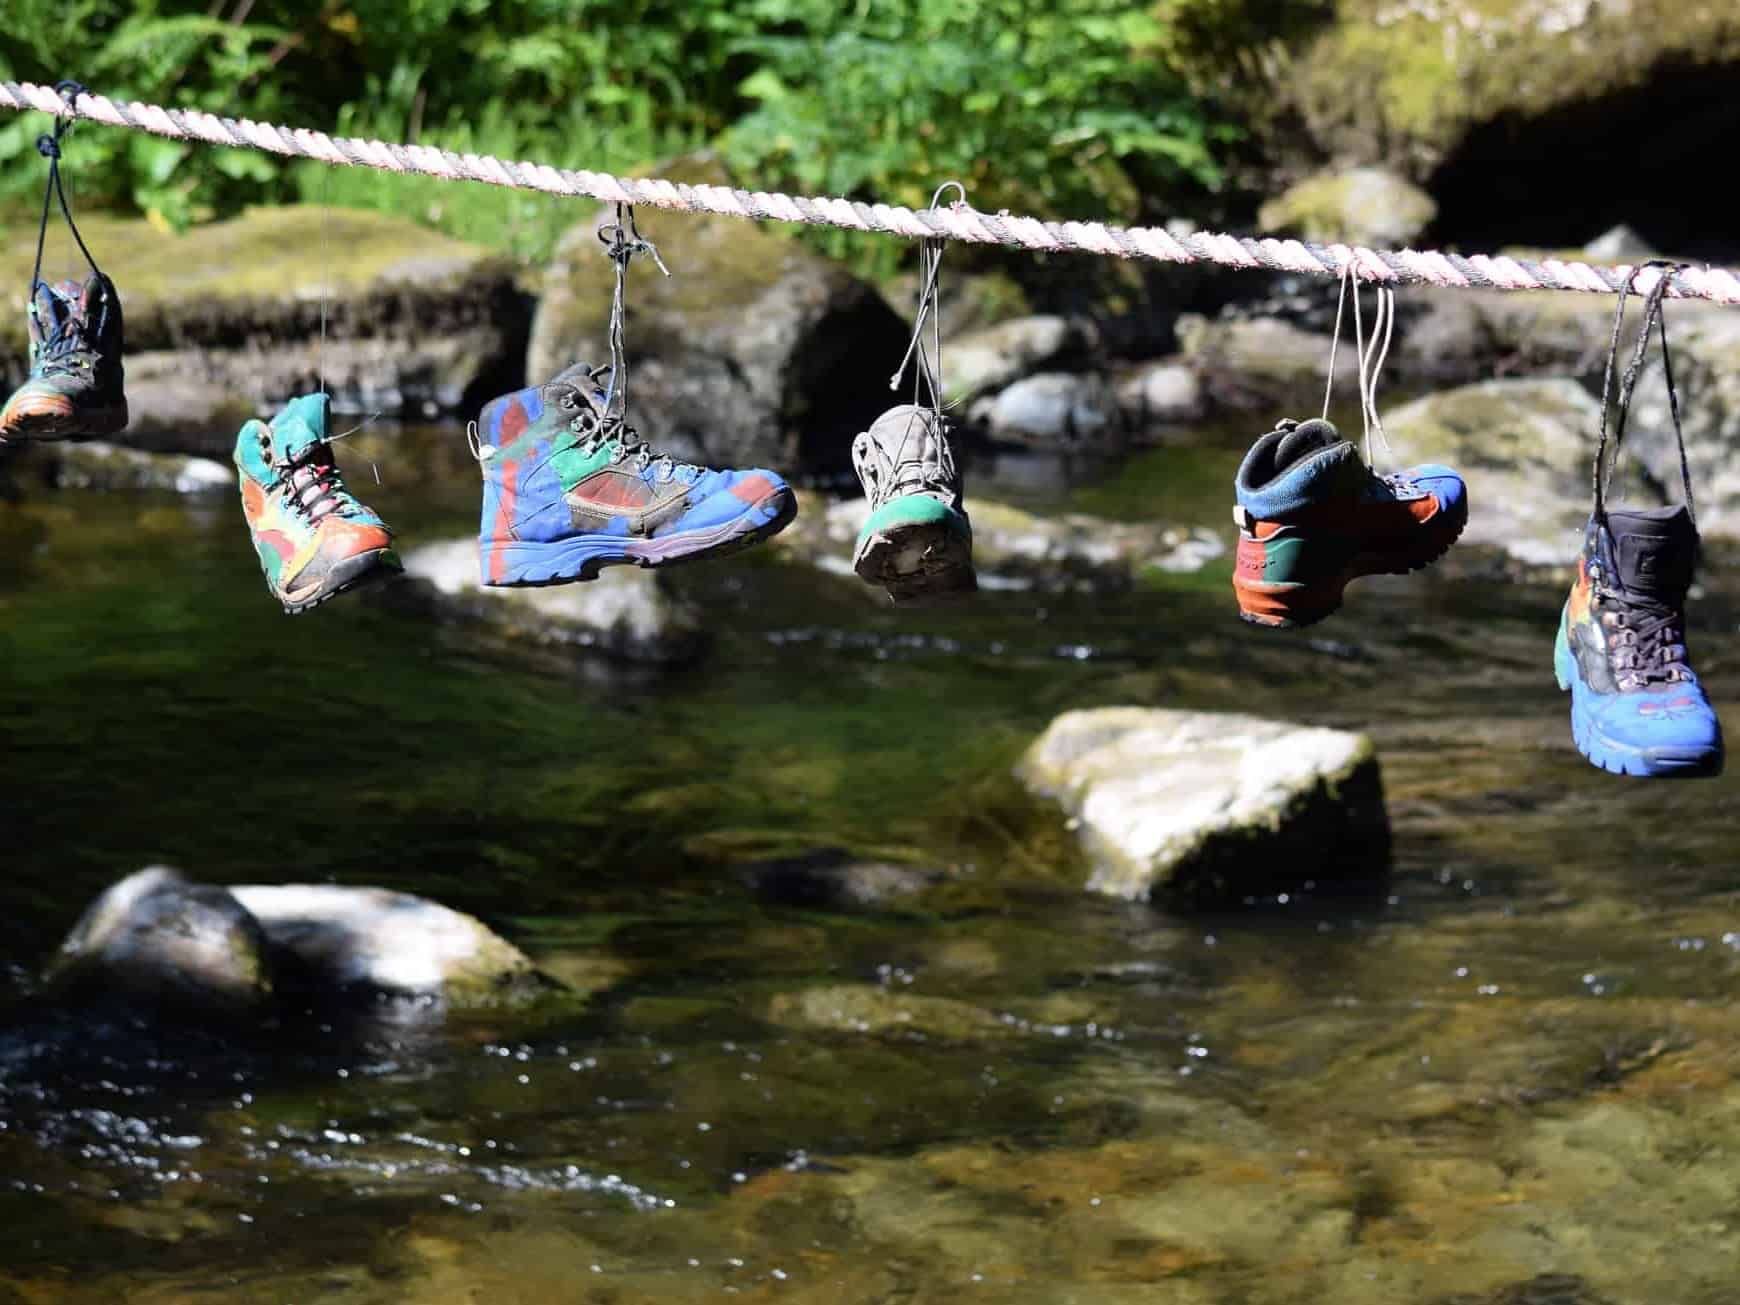
Hike in Comfort, Choose a Method

When backpacking or camping, drying your hiking boots is an essential necessity for comfortable days on the mountain or at camp. Wet boots can lead to trench foot or at the very least a few nagging blisters along the trek. However, by properly drying boots in the wild, your next trip will be as comfortable as the last. When you use any of the techniques and tips listed above, you’ll be able to expertly dry your boots in the field. Not only will you remain on your hiking A-game, your boots will stay in great condition for years to come.

Image Credit:  Mark | (source) | Attribution 2.0 Generic (CC BY 2.0) — reduced file size and image