Last updated on October 24th, 2022 at 09:27 pm
Heading out onto the trails this winter? Many hikers find snowshoeing as simple and easy as hiking. So, you should feel confident, with bare bones knowledge, that your snowshoeing trip will not be insurmountable. By the end of our snowshoeing’s ultimate beginners guide you’ll know what to wear, where to go, what to bring, and basic snowshoeing techniques. Before you know it, you’ll be breathing in that sweet alpine air and experiencing the true serenity of the season.
Goals for This Beginner's Guide to Snowshoeing
Because snowshoeing is so accessible for the whole family, there’s an incredible amount of articles out there with general advice.
However, we found this information to be limited. Many posts are product based, and nothing serves as a great ‘go-to’ guide. It’s only natural to want to help you on your complete journey.
And for this reason, the goals of this beginner’s snowshoeing guide is to:
- Provide you with confidence to begin snowshoeing
- Outline safety tips, advice, and protocols for the trail
- Help you wear and pack the essentials
- Assist you in finding a fun and safe route
Knowing the Basic Terms
While it’s not crucial to know all of the terms for snowshoeing, it can be handy to have a short glossary. Even if it’s just for curiosities sake or to aid you in purchasing snowshoes, these are some basic terms to learn.
Anatomy of a Snowshoe
Bindings: straps that snugly secure your boots into the snowshoes.
Crampons: the main source of traction for the snowshoe. Usually comprised of steel or aluminum, these jagged spikes can be found at toe, heel and each side of the heel.
Deck: the material or part of the snowshoe that stretches around its framework to help you float above the snow.
Heel Lift: a bar that lays beneath your heel. When ascending hills, it can be lifted to provide your heel something to push off from. Thus, drastically reducing fatigue on the calf and shin during inclines. Not all models are equipped with this feature.
Hiking Poles: while not technically a part of your snowshoe, they’re important to maintaining balance, relieving back and knee stress, and navigating tough terrain. In fact, when crisscrossed atop deep snow, they can help disperse your weight and be used to pull yourself from a snowy sink hole.
Pivot Point: This is the area where the ball of your foot sits on the toe point in your snowshoe bindings. Models will either have a fixed or rotating pivot point. When you pick up your foot in a model with a rotating pivot, the decking and frame will remain on the ground. These models will help reduce leg fatigue and offer a more natural stride.
Snowshoeing Terms
Breaking trail: When new fresh snow is ahead, the person in front is ‘breaking the trail’ for the rest. As this person uses more energy, it’s important to rotate the leader of the pack and spread the workload to avoid exhaustion.
Building steps: This is the technique of packing snow methodically to create shelves of compact snow while ascending or descending.
Down-hilling: Upon descent this technique calls for the hiker to come down the hill with snowshoes parallel with the horizon. While doing so each step will involve shifting weight to the heel in order to have a good grip on the slope. Also, keep your body upright and do not lean forward while descending.
Edging: Planting your snowshoe’s edge and compressing the snow there to create a ledge, or step, of compacted snow. This technique is helpful with traveling sideways uphill.
Float: The ability of ones snowshoes to sit atop deep snow. Snowshoes with less flotation will sink into deep snow more than others.
Side-stepping: For steep inclines, heading up sideways is a safe option. Place yourself sideways on the hillside, and with the edge of your right shoe, compress a snow shelf into the incline (edging technique) for your left foot to then use as a step. Head straight up.
Stamping: This is the act of lightly pressing heel, then forefoot over over loose snow prior to transferring your whole weight. The slight compaction creates a firmer surface to float upon. This will be handy when ‘breaking the trail.’
Stepping up: Upon climbing a small incline, you’ll keep your weight toward the front of the shoe and sink your toe crampon into the hill, thus stepping up the hill.
Traverse: Climbing a steep hill diagonally as opposed to straight up.
Trail Terms
Backcountry: Sparsely traveled wilderness, typically without trails to guide you.
Bridal Trail: A trail built for horses. They are also open to hikers and snowshoers alike. Since typical hiking trails can be narrow and difficult, some snowshoers may prefer the wider pass of this option.
Out and Back: A hike that follows a trail and returns on the same route.
Switchbacks: A zig-zagging trail that leads back and forth across an incline to eases difficulty of a the slope.
Trail Head: The start of a marked trail. Popular sites may include bathrooms, picnic areas, or a bulletin board with maps of the area.
Understanding Basic Winter Trail Etiquette
Although less people are usually in the park come winter, you may occasionally encounter fellow travelers.
You’re not necessarily expected to stick to the trails if you’re a snowshoeing aficionado.
But, as a beginner you’ll be on trails.
Here are a few things to keep in mind:
- If you see cross country ski tracks, stick to the outside of the trail. This is especially important if you’re visiting a resort or park that grooms these trails specifically for cross country skiing. One step into these smooth groomed tracks can hinder skiers’ stability and pace. It’s kind to stick to the side of the trail.
RELATED: Best Baby Carriers for Snowshoeing
- Additionally, cross country skiers always will have the right of way whether coming toward you or heading the same direction. Because it’s much easier for snowshoers to step off trail, it’s good trail etiquette to allow skiers to move through. Also remember they have much more speed on downhills.
- Also, you may encounter some diehard winter runners, as with summer sports, it’s good etiquette to allow faster paced runners or hikers to pass. Step off to the side for these folks.
- When it comes to pack dynamics, alternate the leader. Especially important if you’re breaking a trail, rotating leaders helps to spread the workload of packing new snow.
Deciding When and Where to Snowshoe
It’s understandable that you may not know where to start. But, there are some simple ways to find your next trail.
Where to Snowshoe
- Hike trails you love during the summer. Starting with an easy hit will give you confidence to try bigger things. Also, it may be fun to see your favorite trail in a completely different season. We recommend that beginners stick to well-marked trails.
- Hike a bridal trail. Check with your local park for trail heads that lead to bridal trail systems. While bridal trails are created for horses, they’re also open to hikers, snowshoers, and cross country skiers. Furthermore, they’ll be wider than hiking trails, offering much more room for passing.
- Call your local golf course. You may be surprised to learn, these are oftentimes open to snowshoers in the winter for free. Check with your local course to ensure you’re permitted to enter, if there is a fee, and if there’s a required depth of snow to snowshoe. If you’re looking to practice on safe and easy terrain, the links are a great choice.
- Find a cross country ski resort. Resorts allow snowshoeing as well. Here you’ll find trails groomed specially for cross country skiers, trails for snowshoers, and wilderness to explore.
- Discover a new favorite on the AllTrails app. This is a cool method to find trails accessible for your sport near you. This app has ‘snowshoeing’ under ‘more filters’. Alternately, you can choose a trail difficulty of 1 or 2, and an elevation gain of 2,000 for easy trips or 4,000 for moderate adventures.
We find bridal trails are the best bet for an easy-to-conquer snowshoe route. Not only are they wide and relatively level, they’re free of tree roots and rocks.
Wherever you go, and I’m sure we’ve mentioned this before but we’ll mention it again, stay off frozen lakes or rivers regardless of how slowly they appear to be moving.
What Time of Day and How Long
Once you have your route planned, you may be wondering when is the best time of day to head out.
Additionally, if you’re just starting out, the prime time to snowshoe will be in the day when the sun is shining. Although, snow does make things a bit brighter in the winter dusk.
However, for safety and best temperatures, beginners should stick to a short 2-4 hour jaunt in the late morning or mid-day hours.
The Basic Gear for Your First Trip
Overall, snowshoeing is an extremely accessible winter sport for beginners. It’s literally as easy as walking. And, with a few simple things you’ll be ready for a comfortable and safe trip.
Renting versus Purchasing Snowshoes
First off, if you’re new to the sport, snowshoes can indeed be rented. In fact, you don’t even have to be at a ski resort. Many municipal or national parks offer snowshoe rentals for a small fee to explore their trails.
However, after paying an hourly fee for a rental, or if you plan to take more than one trip out, purchasing a starter pair may make the most sense. Snowshoes are relatively inexpensive at the beginner level. And, it’s a great idea to try out the sport before committing to the best of the best. In fact, to help you out, we’ve awarded a few great brands special mention in our best snowshoes for beginners article.
RELATED: Best Gaiters for Snowshoeing
How to Choose Snowshoes
Snowshoes are purchased with a few key factors in mind:
Where you’re headed: difficult terrain, or tricky alpine trails will require an agile shoe, but this shape will compromise their ability to float on open snow. For open rolling hills and fresh snow a snowshoe with a wide deck and great float will be best.
Your weight: this factors into the length of the shoe. It is also important to consider the weight of your clothing, boots, and pack into this calculation.
Your purpose: speed hikers or runners will want a shoe with a tapered tail and a pronounced, turned up nose for ergonomics. However, casual snowshoers will be completely happy with a standard frame with great traction and sturdy binding.
Or, if you’re the type to go for the best option right away, read further on below for moderate upgrades to consider.
What to Bring on Your Snowshoeing Trip
For any trip, whether it’s long or short, there are a few things to wear and bring that are the bare necessities.
On your person:
- warm, waterproof boots and wool or synthetic socks
- correctly sized snowshoes
- dress in layers (focus on quick-drying, synthetic or wool blends)
- warm gloves
- something to cover your ears (hat or headband)
- sunglasses and sunscreen
- snow gaiters (optional, but highly suggested)
In your pack:
- safety essentials (see below)
- lip balm
- headlamp (dusk can creep up on you in winter)
- water bottle in an insulated sleeve
- lots of snacks, lunch (a thermos of hot soup can ward off the cold)
Additionally, what you wear is extremely important to your comfort and safety out in the cold wilderness.
While you may work up a sweat mid hike, dress in layers that wick moisture and are easy to shed during the trip.
Additionally, be sure there’s room in your bag for these items. We actually delve into this further in our article on what to wear while snowshoeing.
Regardless of whether you’re planning to stick with this hobby, a great pair of boots is essential.
Especially, since warm, insulated, and waterproof boots can easily meld into your current wardrobe. We have a handy guide for the best boots for snowshoeing. And trust us, they’re an essential addition to your winter hikes.
If You Enjoyed the Journey...It May Be Time to Consider Upgrades
Finally, say you had an absolute blast on the hills, you may be thinking, ‘hey I could get used to this’. It’s likely that you’ll want to upgrade your gear to meet the level of your excitement.
And, it doesn’t hurt to get a pair of snowshoes that may actually help relieve fatigue. After all, snowshoeing is a fantastic way to enjoy nature and stay active for an additional several months out of the year.
We’ve created a quick list of the best men’s snowshoes and the best women’s snowshoes to help if and when you want to upgrade.
In most cases, premium models will have:
- better traction
- easier to use binding systems
- ergonomic design
- better quality materials
- longer lifespan
Many premium models have design features that ease knee and hip fatigue. In fact, snowshoes designed for women consider our unique attributes and feature elements to save knees, hips and the back. And, for these reasons, it becomes an easy decision to upgrade to these models.
However, if you’re perfectly happy with your beginner’s pair, ride those until they self destruct!
In the case that this happens on the trail, many snowshoers will bring extra strapping or zipties to quickly fix bindings in the field.
Baseline Safety for Snowshoeing
Snowshoeing is fun, and we never want to talk about the bad stuff.
But, in the case that the unthinkable happens, there are a few ways to prepare.
Risks include getting lost, dehydration, hypothermia, avalanches (in some areas), slips and falls, and frost bite.
So to stay safe:
Fight Dehydration
First off is an easy one, and possibly most important, bring water. Many of us forget that dehydration is just as easy during the cold months as in hot ones.
Not only will hydration keep your muscles from cramping, it also wards off hypothermia.
Bring ample amounts of water with you on your journey and be sure to drink water beforehand as well.
Newbies Grab a Buddy
Second, beginners to the sport should grab a buddy and stick to trails that are well marked.
If you really must go on your favorite easy trail alone, at the very least tell someone where you’re headed. It’s especially important in the colder months where risk of hypothermia is concerned. However, it’s not recommended that you head out on your own in the backcountry.
Safety Essentials
When packing for a winter excursion, it’s recommended to pack:
- an emergency blanket
- compass or gps watch
- an emergency whistle
- first aid kit
In the case that you’re using your cell phone as your main navigation tool, consider its shortcomings before heading onto a lengthy backcountry expedition.
Not only are there ample areas in the wilderness where reception is absent, cell phone batteries also decline rapidly in cold temperatures.
In fact, it’s not actually dying, per se, lithium ion batteries will simply stop functioning at temps below freezing.
For instance, the iPhone’s function will slow and decline at 32°F. If you are considering taking your phone, keep it in a waterproof bag, keep it close to your core body heat, and bring along an extra power bank with cord.
Finally, if you’re heading into the backcountry over fresh snow, you may need to prepare for avalanches. This terrain is more likely to be embarked upon by advanced snowshoers.
However, if you’re heading toward the unknown, also prepare your hiking group with an avalanche transceiver each. Additionally, snowshoe pros suggest items like avalanche airbags.
With all that being said, if you’re heading out as a newbie snowshoer, stick to rolling hills and easy terrain at first.
Set a Clear Route and Know Your Way Back
For those new to snowshoeing, it’s advisable to stay on a clearly marked trail and plan a set route home.
Because the cold can creep in quickly, it is recommended that beginners also start out on a short loop or an out-and-back. Also, create time early in the day to start your journey while there is ample daylight to get back.
As a rule, if you encounter an ice-covered river or lake, do not attempt to cross it.
Finally, when following an out-and-back trail route, be sure to stick to the trail markings. Don’t rely heavily on your footprints to be there on your way back, especially during heavy snow fall.
Be Knowledgeable Before Heading Off Trail
Once you’ve gotten the hang of it, you may consider heading off trail. Beforehand, you’ll need to learn a few additional precautions and techniques.
For instance, how to ascend and descend hills, safely traverse slopes and how to avoid and prepare for an avalanche in areas prone to this danger.
Always:
- check the weather
- stay off closed trails
- check for avalanche risks in high elevations.
If you live in areas that are prone to avalanches, be aware of new snow, wind drifted snow, wet snow, unstable base layer, and gliding snow. In these areas, follow precautions set out by your local avalanche center.
It is also important to learn about tree wells and how to avoid them. These are very dangerous. This happens in the space below a tree’s branches, here it doesn’t get the same snow load as the surrounding area. While snow all around gets piled high, an area near the trunk continues to create a deep pit. This is more of a danger for skiers traveling at a high pace, but be wary of them regardless. Similarly, this can happen near rocks and streams. Safety tips for tree and rock wells include:
- Always stay in visual contact with a partner.
- Do not leave a trapped partner, attempt to dig them out.
- If you’ve fallen in a tree or rock well, don’t panic.
- Create a breathing space around your face and slowly rock back and forth until you can begin to free yourself.
How to Snowshoe: Basic Techniques
As we mentioned earlier, snowshoeing is easy. And, as such, it can be approached by simply walking naturally.
The addition of poles will greatly improve your mobility and lessen the burden on hills and technical terrain.
For the many varied trail terrains, there are some basic techniques you should practice.
How to Move
Walking in snowshoes can be strange at first, but you may quickly realize it’s just as easy as walking without them. Move by stepping forward in a modified heel-toe fashion.
You can lighten your travel burden greatly by walking in your friend’s tracks when possible.
Otherwise, on fresh snow, you’ll need to employ a stamping method of packing snow to create a solid foothold for each step. To stamp, simply place one foot forward toe first, lightly press down, pause, and continue.
Climbing Hills
When approaching a hill, consider a few routes. For moderate slopes, the shortest distance is always the preferable path to reduce fatigue and conquer it quickly. In these instances, you’ll likely step up by digging your toe into the hillside and climbing with your balance on your forefoot.
For steep inclines, you’ll have to employ one of a few options. You can side-step the entire hill sideways. Do so by pressing the side of your snowshoe into the hill. You’ll be creating a shelf of compacted snow for which the following foot can use as a step.
Alternately, you can traverse the slope at alternating angles. By digging the side of your snowshoe into the hill just as in side stepping you’ll be able to get a good hold. Use this method to travel at sideways angles across the incline.
For deep snow on steep inclines, you may also be able to use a method called ‘kick stepping‘. Here where there is more snow, kick into the hill with your toe, wait, and continue stepping. This should make more substantial steps for your crampons to dig into your way up.
Descending Hills
Upon a descent, the most important thing is to avoid pointing your snowshoe toe first or leaning forward.
To travel downhill, you may either use the techniques down-hilling, side-stepping, or step-sliding.
Before heading downhill, first adjust your poles to be slightly longer to adapt to the additional distance between your arms and the ground.
Down-hilling is as simple as heading straight down while keeping weight planted on your heels. Keep your poles out in front, lean your weight slightly back into the hill and keep your knees relaxed and bent.
Or, you may find that you need to head down sideways. In this case, Side-stepping can offer you an easy route. You’ll want to first adjust one (downhill) pole to be longer than your uphill pole. Travel with the shorter stick at your highest side and the longer pole at your lowest point. Always lean your weight toward the hill, and keep your weight on the uphill snowshoe to avoid a tumble. You’ll want to face sideways and compact steps into the hill with the sides of your shoes. Slowly and with little steps, you can make your way down while using your poles for added stability.
RELATED: Best Snowshoes for Big People
Alternately, step-sliding, or glissading, is a quick and fun route down. This technique involves leaning your weight into your heels, flexing your toes upward, and using long strides to fly down the hill quickly. Test this one out on an easy hill first. Trust us, this is a preferred method for those of us with reckless abandon. However, you must check your path for obstacles and dangers first.
If you begin to slip or lose balance during any descent, just sit or fall into the hill.
Getting up off the Ground
You may indeed fall, especially if you try to walk backwards. In these cases, it can be quite hilarious to get back up, but you have a couple options.
If you’re on a slope, roll until your head is uphill. From there, pull your knees in and press off the slope with your heels.
In the case that you’ve fallen in deep snow, remove your hand from your poles’ hand straps. Continue by crisscrossing your poles in front of you, and push yourself up by placing your weight on the point where they cross.
How To Use Hiking Poles
While some people may hike without, we feel these are absolutely a must. Not only do hiking poles keep you balanced, they also reduce back strain and help you feel for obstacles under the snow.
Hiking poles come in multiple sizes. However, adjustable poles are ideal because they can be shortened for uphill and lengthened for downhill travel.
To adjust the height of your pole, turn it upside down and, with hand under the snow basket, adjust the closest lock per your needed height. Set its length so that your elbow is bent at a 90 degree angle.
Additionally, it’s important to wear your hand straps. Not only will it allow for needed rest throughout the day, these are also integral to their function.
Hiking poles are used by leaning your weight through the hand strap. From there, the force of each step is transferred to the pole grip and down to the ground. Thus, giving them their true power and aiding you in your journey.
Finally, you’ll want to make sure you’ve got the correct equipment. Trekking poles and snowshoeing poles are essentially the same thing. The only difference would be that trekking poles come with a small basket for mud.
Whereas with snow, you’ll need a sizable ‘snow basket’ to keep you steady above deep snow. These are larger than mud baskets at about 3-4″ in diameter. Luckily, most if not all, trekking pole companies offer a compatible snow basket sold separately.
Pack Smart and Head Out
Snowshoeing can bring you to places and views that are otherwise out of reach during the colder months. And as a beginner, anything can be a little daunting. However, with just a few simple items that you may already have laying around and our snowshoeing’s ultimate beginners guide, you’re well on your way to being just as prepared as the pros.
And don’t forget, snowshoeing should be fun, therefore somewhat simple to conquer. Remember to get the sizing right on your snowshoes, bring hiking poles, and map your route. Because, after reading the above, you’re ready to get out there and slay the slopes.
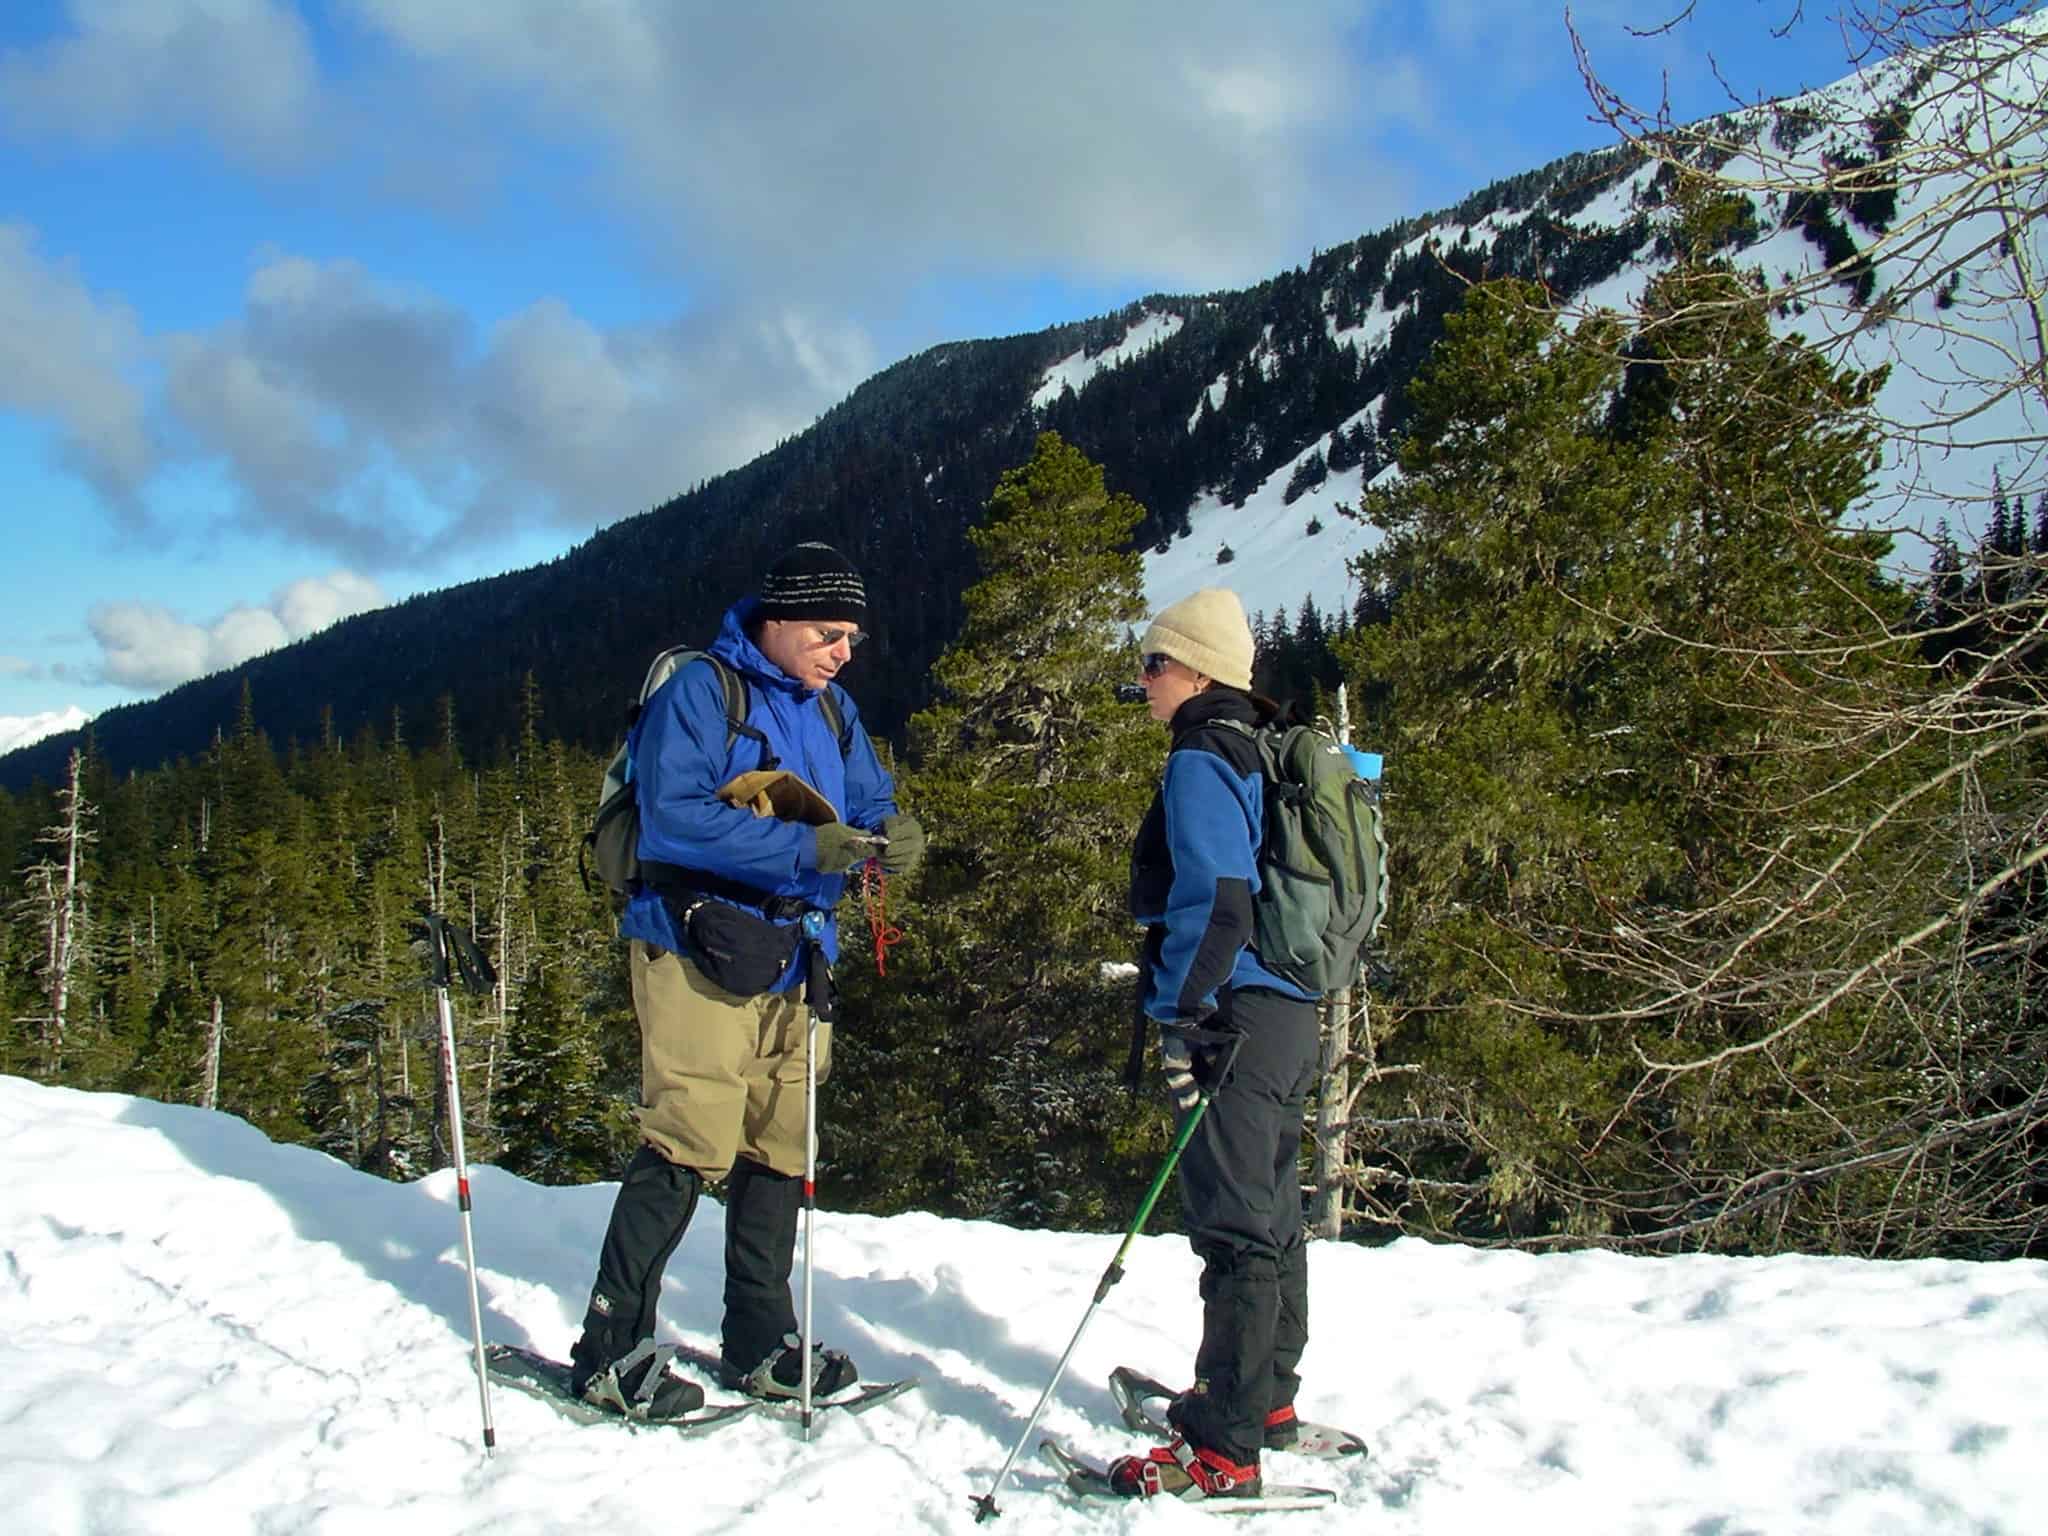
Image Credit: Joseph | (source) | Attribution-ShareAlike 2.0 Generic (CC BY-SA 2.0)— reduced file size and image
Comments are closed.