Last updated on January 17th, 2023 at 02:49 pm
Snowshoeing becomes more popular by the day, but there’s an important lesson that all newcomers should learn. Learning how to store snowshoes properly during the offseason is imperative to protecting your investment.
Storing snowshoes properly simply requires a little cleaning followed with routine maintenance and repair. Most manufacturers recommend hanging snowshoes for storing, and most come with a storage bag.
How to Clean Snowshoes for Storage
Cleaning your snowshoes for storage is a fairly easy process, but traditional shoes require slightly more time.
Most modern snowshoes require little maintenance because they’re made from aluminum or plastic. Both of which are relatively easy to keep clean and in good repair.
When you’re ready to store your shoes away at the end of the season, here’s what you’ll need:
- Rag
- Soft brush
- Microfiber towel
- Mild detergent
- Bucket

First, fill your bucket with warm soapy water. With your dry rag, wipe your shoes of any excess debris like caked-on chunks of dirt or small rocks. Then submerge your rag in the bucket of water and wring it out.
Gently wipe around the frame, and then wash the top and bottom of the tail area, strike plate, and toe.
Gently scrub any stubborn areas with your scrub brush.
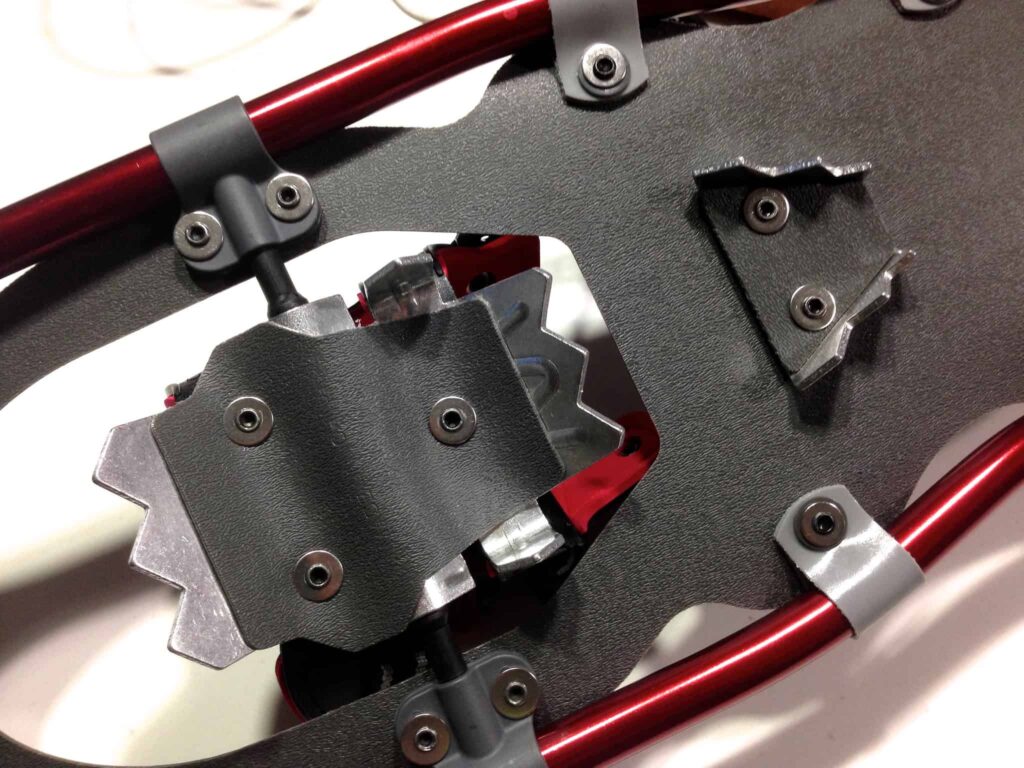
Rinse your rag, and wring it out as much as you can. Then carefully wipe down your pivot rods, bindings, and cleats.
Be sure you’re thoroughly removing any salt or grease to preserve the structural integrity of your shoes.
Once you’ve cleaned your shoes, wipe them down with a microfiber towel to absorb any excess water.
Lastly, place your shoes somewhere that they can air completely dry.
Be absolutely sure they are dry before packing them into a bag. Otherwise, mold and mildew will grow.

Inspect and Repair
Once your shoes are clean and dry, you want to inspect them thoroughly for any maintenance needs or damage.
If you notice any significant damage, take your shoes to a professional for repair. But the little stuff, you can repair yourself.
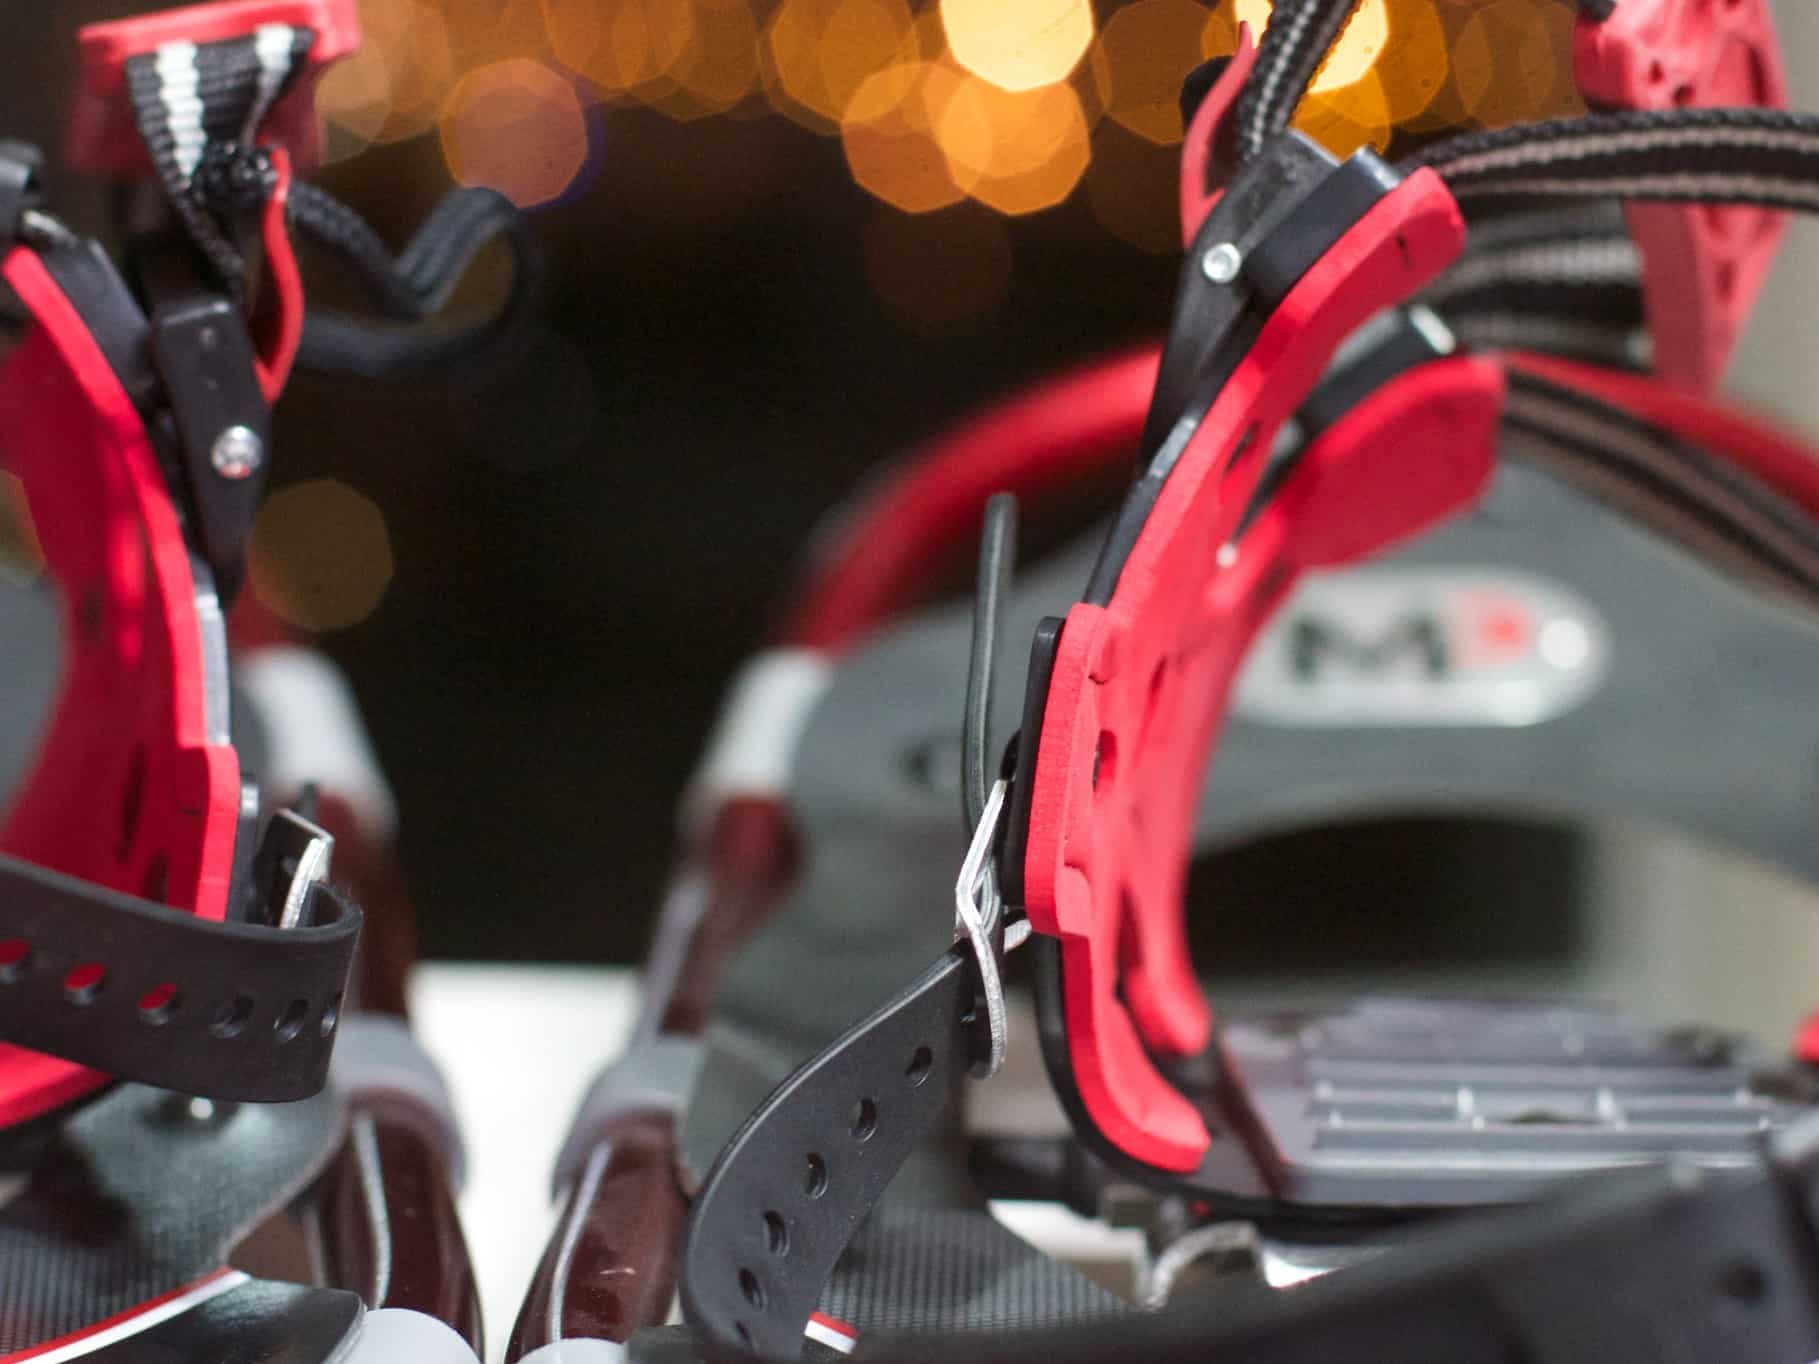
First, check all of your leather bindings and straps. Make sure there’s no dry rotting, abrasions, or cuts in the leather or rubber that could cause your straps to snap.
Traditional Wood Snowshoes
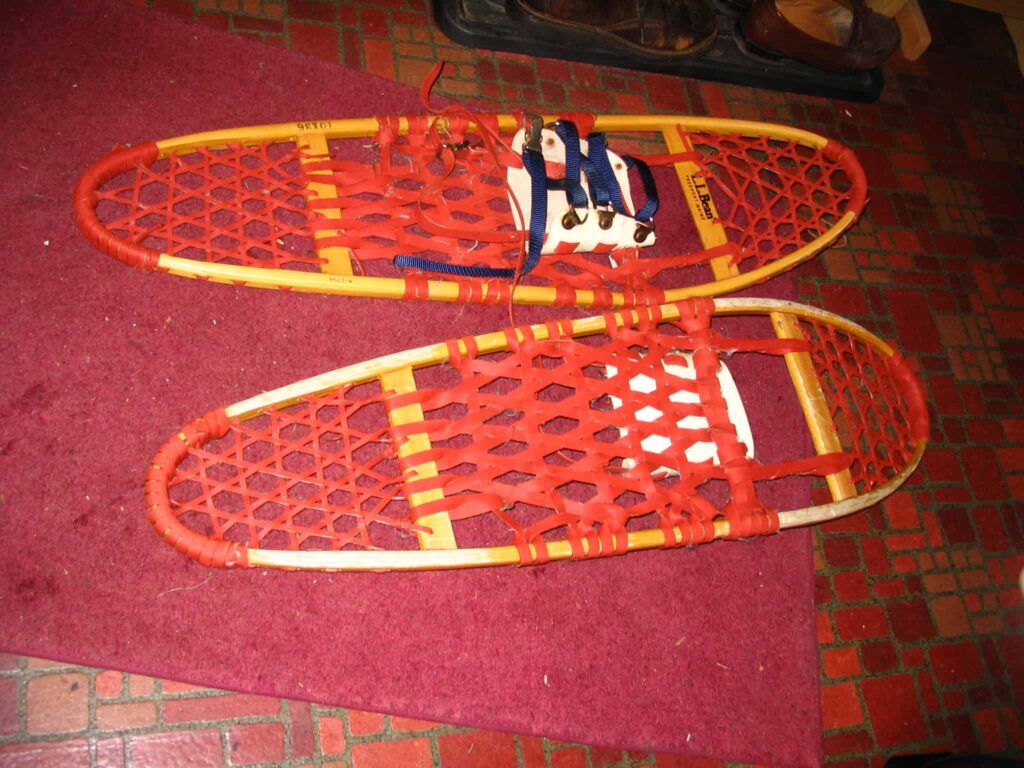
If you have traditional shoes, thoroughly inspect all the binding and webbing for any dry rotting or damage.
If you have any severely damaged or broken webbing, tie new treated rawhide strips to the frame. Then tie the other end to any good rawhide already secured within the webbing.
Additionally, if you find any cracks in your frame, fill them with outdoor water-resistant wood glue. Place a C-clamp over the crack to hold it in place while the glue dries. Once dried, you can lightly sand the area with 120-grit sandpaper.
Modern Aluminum and Plastic Snowshoes
However, if you’re sporting modern snowshoes, you’ll encounter less repairs. In fact, modern bindings are UV and crack resistant.
Address and binding, crampon, strapping, and buckle repairs as previously mentioned. Many manufacturers can supply spare parts.
The only real weakness of most modern snowshoes is the aluminum framing that can bend, twist and break.
Here, if you have such framing damage, we suggest wiping any broken framing with water, then alcohol to remove salt, dirt and to quickly allow it to dry.
Breaks or holes in these damaged areas need to be repaired.
Carefully bend any tubing back into shape and apply a waterproof tape that performs in cold weather like this aluminum foil duct tape.
Additionally, double-check your snaps, ratchets, buckles, and pivot systems ensuring they function and secure properly. Lastly, give your decking a good once over to make sure there is no cracking or sun damage.
If your inspection reveals any significant wear and tear, consider having your shoes looked at by a professional.

Preserve and Refinish
Before putting your shoes away for the season, take the time to preserve and refinish them where necessary. Modern snowshoes with aluminum frames don’t require much for preserving and refinishing.
However, experienced snowshoers often coat an aluminum frame with olive oil. This will help protect against corrosion through the summer months, which is especially important if you live in a humid area.
For any neoprene areas, make sure they are completely dry to prevent mold.
Finally, before storing your shoes away for the season, lessen the tension on your bindings.
Preserving Traditional Snowshoes
Traditional snowshoes require a much more in-depth process. Here’s what you’ll need:
- Rag
- Lemon Oil
- Waterproofing agent
- 120-grit sandpaper
- UV-Inhibiting spar varnish
- Brush for application
First, sand both the frame and webbing with 120-grit sandpaper.
Next, dust them off well.
Then polish all the wood surfaces with lemon oil to protect the wood and help it keep its moisture. This will help your shoes maintain their strength and extend their longevity.
Clean, condition, and waterproof your leather webbing with Nikwax or Saddle Soap. This will prevent your leather from becoming dry and brittle and give it some water resistance.
Once all your preservation steps are completed, you can refinish traditional shoes with a coat of UV-inhibiting spar varnish. Then, let your shoes dry for at least 24 hours, and then follow with another coat of varnish.
Where to Store Snowshoes
Your snowshoes should be stored in a clean, dry area, which could be just about anywhere. Depending on your home, this could be a garage, basement, attic, closet, or even under the bed.
A few things to keep in mind when storing snowshoes:
- don’t store snowshoes next to a fireplace or in a damp shed
- excessive moisture can cause mold, mildew, warping, and/or rust
- any climate-controlled area is ideal
- crampons can easily cut, puncture, or damage anything in the near vicinity
- consider children, pets, clothing, or other valuables when storing crampons facing outward
Storing Snowshoes in a Bag
Storing snow shoes in a bag is a bit tricky, and there are actually two schools of thought.
First, some claim facing the crampons towards each other protects your bag and any other gear.
Conversely, others claim facing your crampons against each other can actually damage the crampons themselves.

However, a piece of cardboard or heavy material between your snowshoes or your snowshoes and bag can easily fix either issue.
At any rate, just make sure your bag is big enough to house your shoes, poles, and any other gear. Most snowshoe manufacturers offer compatible bags.
Place your shoes in the bag first, then place any additional gear on top. Some bags have external hook and loop tabs for trekking poles. Collapsible poles can always be placed inside.
Once everything is secured inside your bag, tuck the bag wherever you’ve decided to store your shoes for the off-season.
Hanging Snowshoes for Storage
When asking ‘How To Store Snowshoes,‘ the best answer is to hang them [dry] inside the bag they came with.
In fact, hanging your snowshoes is an easier option and requires less space. You can purchase a snowshoe storage rack, or simply screw some rubber-coated hooks into the wall.
When hanging your shoes, it’s a good idea to face the crampons towards the wall so they don’t snag anyone walking by.
You can hang them one on top of the other, or side by side. Either way is perfectly fine and simply a matter of preference.
Hanging up Your Gear during Off-season
Snowshoeing is becoming more popular. However, unlike most gear, many hikers are in the dark when it comes to storing snowshoes in the off-season. For hikers looking to take care of their investment, we’re here to help answer how to store snowshoes. With routine maintenance and proper storage, your snowshoes can last a lifetime.
And, when the snow begins to fall next season, you’ll be giddy to pull them out and try them on. Trust us, you’ll admire the care you put in and enjoy the nostalgia of last year as you prepare for yet another season of snowshoeing.
About The Author
Todd Alexander
How to Store Snowshoes, Title Image Credit: Alan Levine | (source) | Attribution 2.0 Generic (CC BY 2.0) — reduced file size and image
How to Store Snowshoes, Title Image Credit 1: Alan Levine | (source) | Attribution 2.0 Generic (CC BY 2.0) — reduced file size and image
Image Credit 2, How to Store Snowshoes: Alan Levine | (source) | Attribution 2.0 Generic (CC BY 2.0) — reduced file size and image
How to Store Snowshoes, Image Credit 3: Josh Graciano | (source) | Attribution 2.0 Generic (CC BY 2.0) — reduced file size and image
Image Credit 4, How to Store Snowshoes: Alan Levine | (source) | Attribution 2.0 Generic (CC BY 2.0) — reduced file size and image

